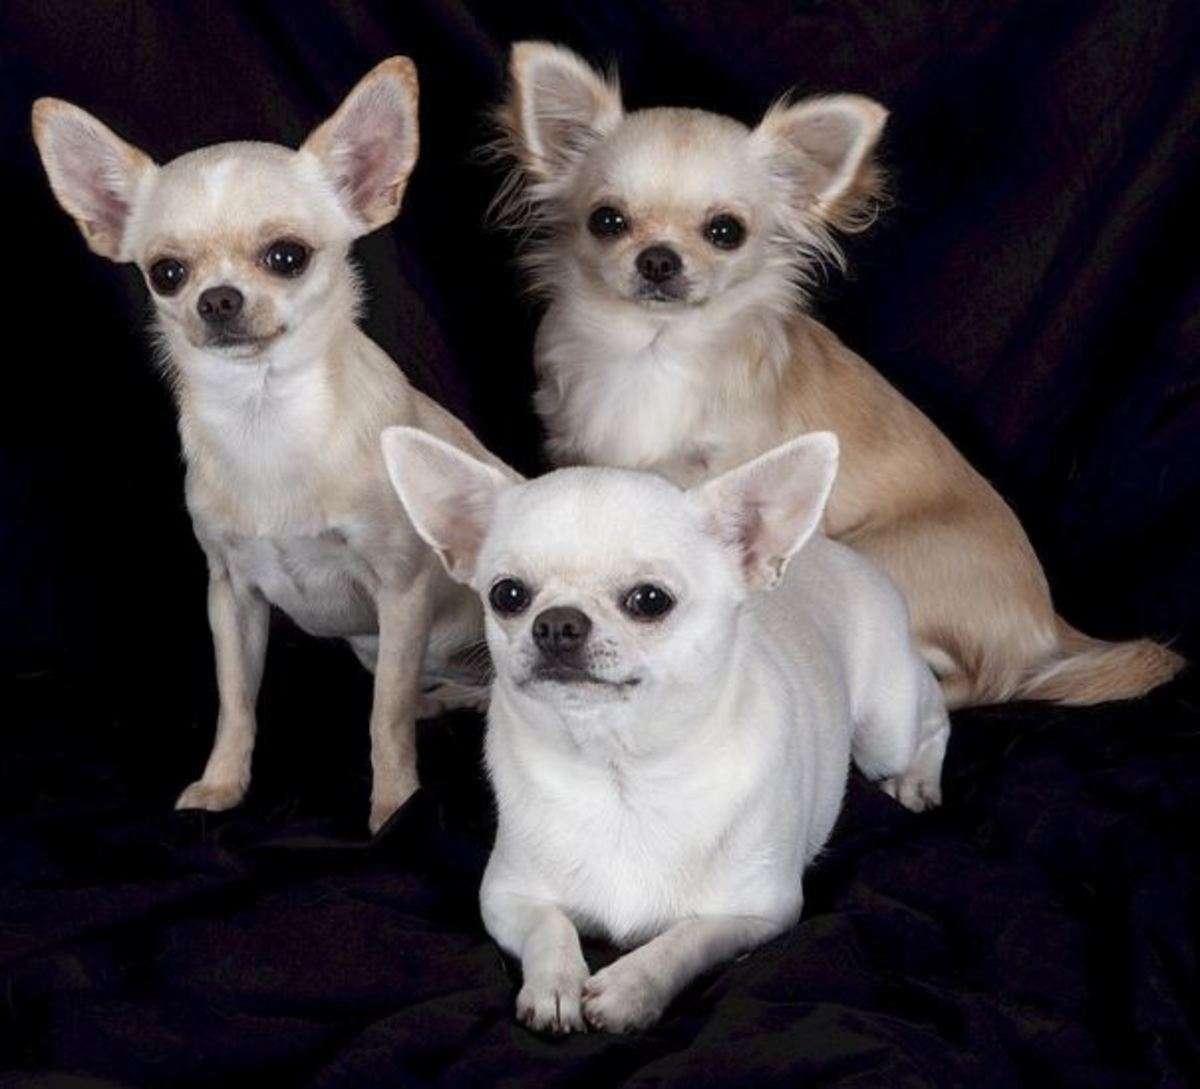
Introduction: Understanding the Importance of Proper Furminator Usage
Proper grooming is essential for maintaining a dog’s overall health and well-being. Dogs with short hair may not require as much grooming as those with longer coats, but regular care is still necessary to keep their fur clean and healthy. The Furminator, a popular grooming tool, can be highly effective in removing loose hair and reducing shedding. However, it is crucial to understand the proper way to use the Furminator on a dog with short hair to ensure optimal results and avoid causing any discomfort or harm to your furry friend.
Step 1: Preparing Your Dog for Furminator Grooming
Before using the Furminator, it is essential to prepare your dog for the grooming session. Start by ensuring that your dog is calm and relaxed. Offer treats or engage in some playtime to create a positive association with the grooming process. Brush your dog’s coat lightly with a regular brush or comb to remove any tangles or mats. This will make it easier for the Furminator to glide through the fur smoothly.
Step 2: Choosing the Right Furminator for Short-Haired Dogs
When selecting a Furminator for a dog with short hair, it is important to choose the appropriate size and blade length. The Furminator comes in different sizes, so pick one that matches the size of your dog. Additionally, opt for a model with a shorter blade length, as this is more suitable for removing loose hair from short coats.
Step 3: Familiarizing Your Dog with the Furminator Tool
Introduce your dog to the Furminator gradually to ensure they are comfortable with it. Allow them to sniff and inspect the tool before gently touching their body with it. Use treats and praise to create a positive association with the Furminator. This gradual introduction will help reduce any anxiety or resistance during the grooming process.
Step 4: Selecting the Ideal Furminator Technique for Short Hair
When it comes to short-haired dogs, the ideal Furminator technique involves using short, gentle strokes in the direction of hair growth. Avoid pressing too hard or making long strokes, as this may cause discomfort or irritation. The Furminator is designed to remove dead and loose hair without damaging the healthy coat, so using the proper technique is crucial.
Step 5: Starting the Furminator Grooming Process
To begin the Furminator grooming process, start at the neck or shoulder area and gradually work your way down the body. Take your time and be gentle, especially around sensitive areas such as the belly or tail. Pay close attention to areas prone to matting, such as behind the ears, and use the Furminator to remove any tangles or knots carefully.
Step 6: Proper Hand Placement and Pressure for Effective Results
The way you hold and apply pressure with the Furminator can significantly impact the results. Hold the tool with a firm grip but avoid exerting excessive pressure. Apply gentle pressure and let the tool do the work. If you encounter resistance or tugging, adjust your hand placement or go slower to prevent any discomfort.
Step 7: Working Methodically and Thoroughly with the Furminator
To ensure thorough grooming, work in sections and move systematically across your dog’s body. Comb through the fur slowly and methodically, making sure to cover all areas. This will help remove as much loose hair as possible and prevent any missed spots.
Step 8: Managing Shed Fur and Keeping the Area Clean
During the grooming process, it is common for fur to accumulate. To manage shed hair effectively, have a trash bag or container nearby to collect the loose hair. This will prevent it from spreading around the house. Additionally, periodically clean the Furminator tool itself to remove any accumulated fur, ensuring its effectiveness for future grooming sessions.
Step 9: Recognizing Signs of Discomfort or Over-Grooming
While using the Furminator, it is crucial to pay attention to your dog’s body language and behavior. If your dog shows signs of discomfort, such as pulling away, vocalizing, or exhibiting signs of stress, stop grooming immediately. Over-grooming can lead to skin irritation or injury, so it is vital to prioritize your dog’s comfort and well-being.
Step 10: Incorporating Furminator Grooming into Your Dog’s Routine
Regular grooming with the Furminator can significantly reduce shedding and keep your dog’s coat healthy. Incorporate Furminator grooming into your dog’s routine, aiming for weekly or biweekly sessions, depending on their shedding frequency. Consistency is key to maintaining a clean and healthy coat.
Conclusion: Enjoying the Benefits of Proper Furminator Usage
Using the Furminator properly on a dog with short hair can greatly benefit both you and your furry companion. By following the steps outlined above, you can effectively remove loose hair, reduce shedding, and keep your dog’s coat in optimal condition. Remember to always prioritize your dog’s comfort and well-being during the grooming process, as a positive experience will make future grooming sessions more enjoyable for both of you. With the proper use of the Furminator, you can ensure a healthy, clean, and happy canine companion.